Back in the
1970's Dinky
made a great number of die-cast metal TV sci-fi tie-in toys, of which
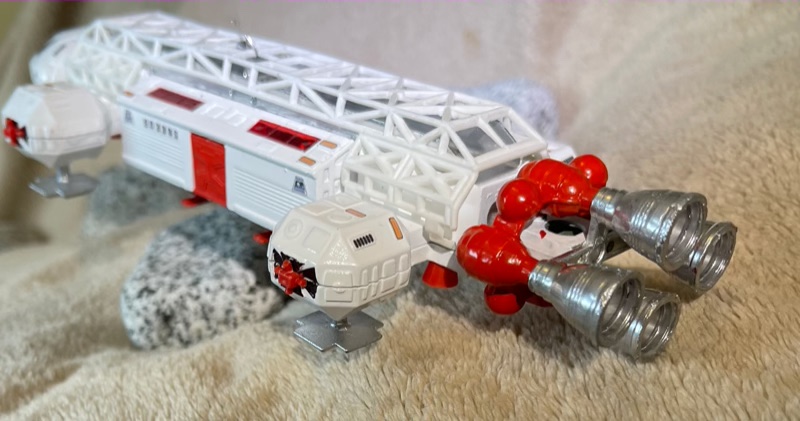
the Space 1999 Eagle was easily my favourite. Here's a typical example
45 years later, showing typical wear and tear!

Note the paint
scuffs all round. And this is one in good condition - 45 years is a long
time! See eBay for many other examples, usual in worse nick.
The original model
had green nose and legs, since Dinky apparently didn't think children
would want an all-white toy (gets dirty easily?), but most fans since
have sought to rectify this decision. One option is to buy an example of
the 'freighter' version (with passenger pod switched out for a hoist
platform), since that DID have a white nose, and then mix and match as
needed. However, this means buying two (used) toys and isn't always
possible. Moreover, the white model will also have similar signs of wear
and will need major renewing.
With this in mind,
I wanted to put together a basic
list of instructions and suggestions for restoring a 1970's Dinky
Eagle to 'better than before' condition, ideally
getting closer to the look of the Eagle transporters in the TV show. Do
note that I didn't go all the way, plus there are as many decal/paint
jobs for Eagles as you care to find online - ultimately it's up to you
and how much fun you have painting, touching up, and adding decals.
Whatever you end up will probably be unique to you, but it will also
look a lot better and... even... realistic.
See the hero
images at the top and below, plus the gallery,
for what I came up with, anyway!

You can contact me
at [email protected] and
you can 'tip' me if these pages have proved helpful to you by using
PayPal. Thanks.
PS. See also my LEGO
Space 1999 Eagle construction page